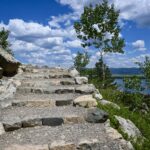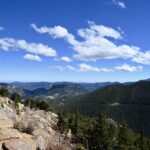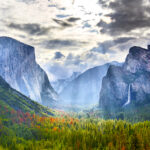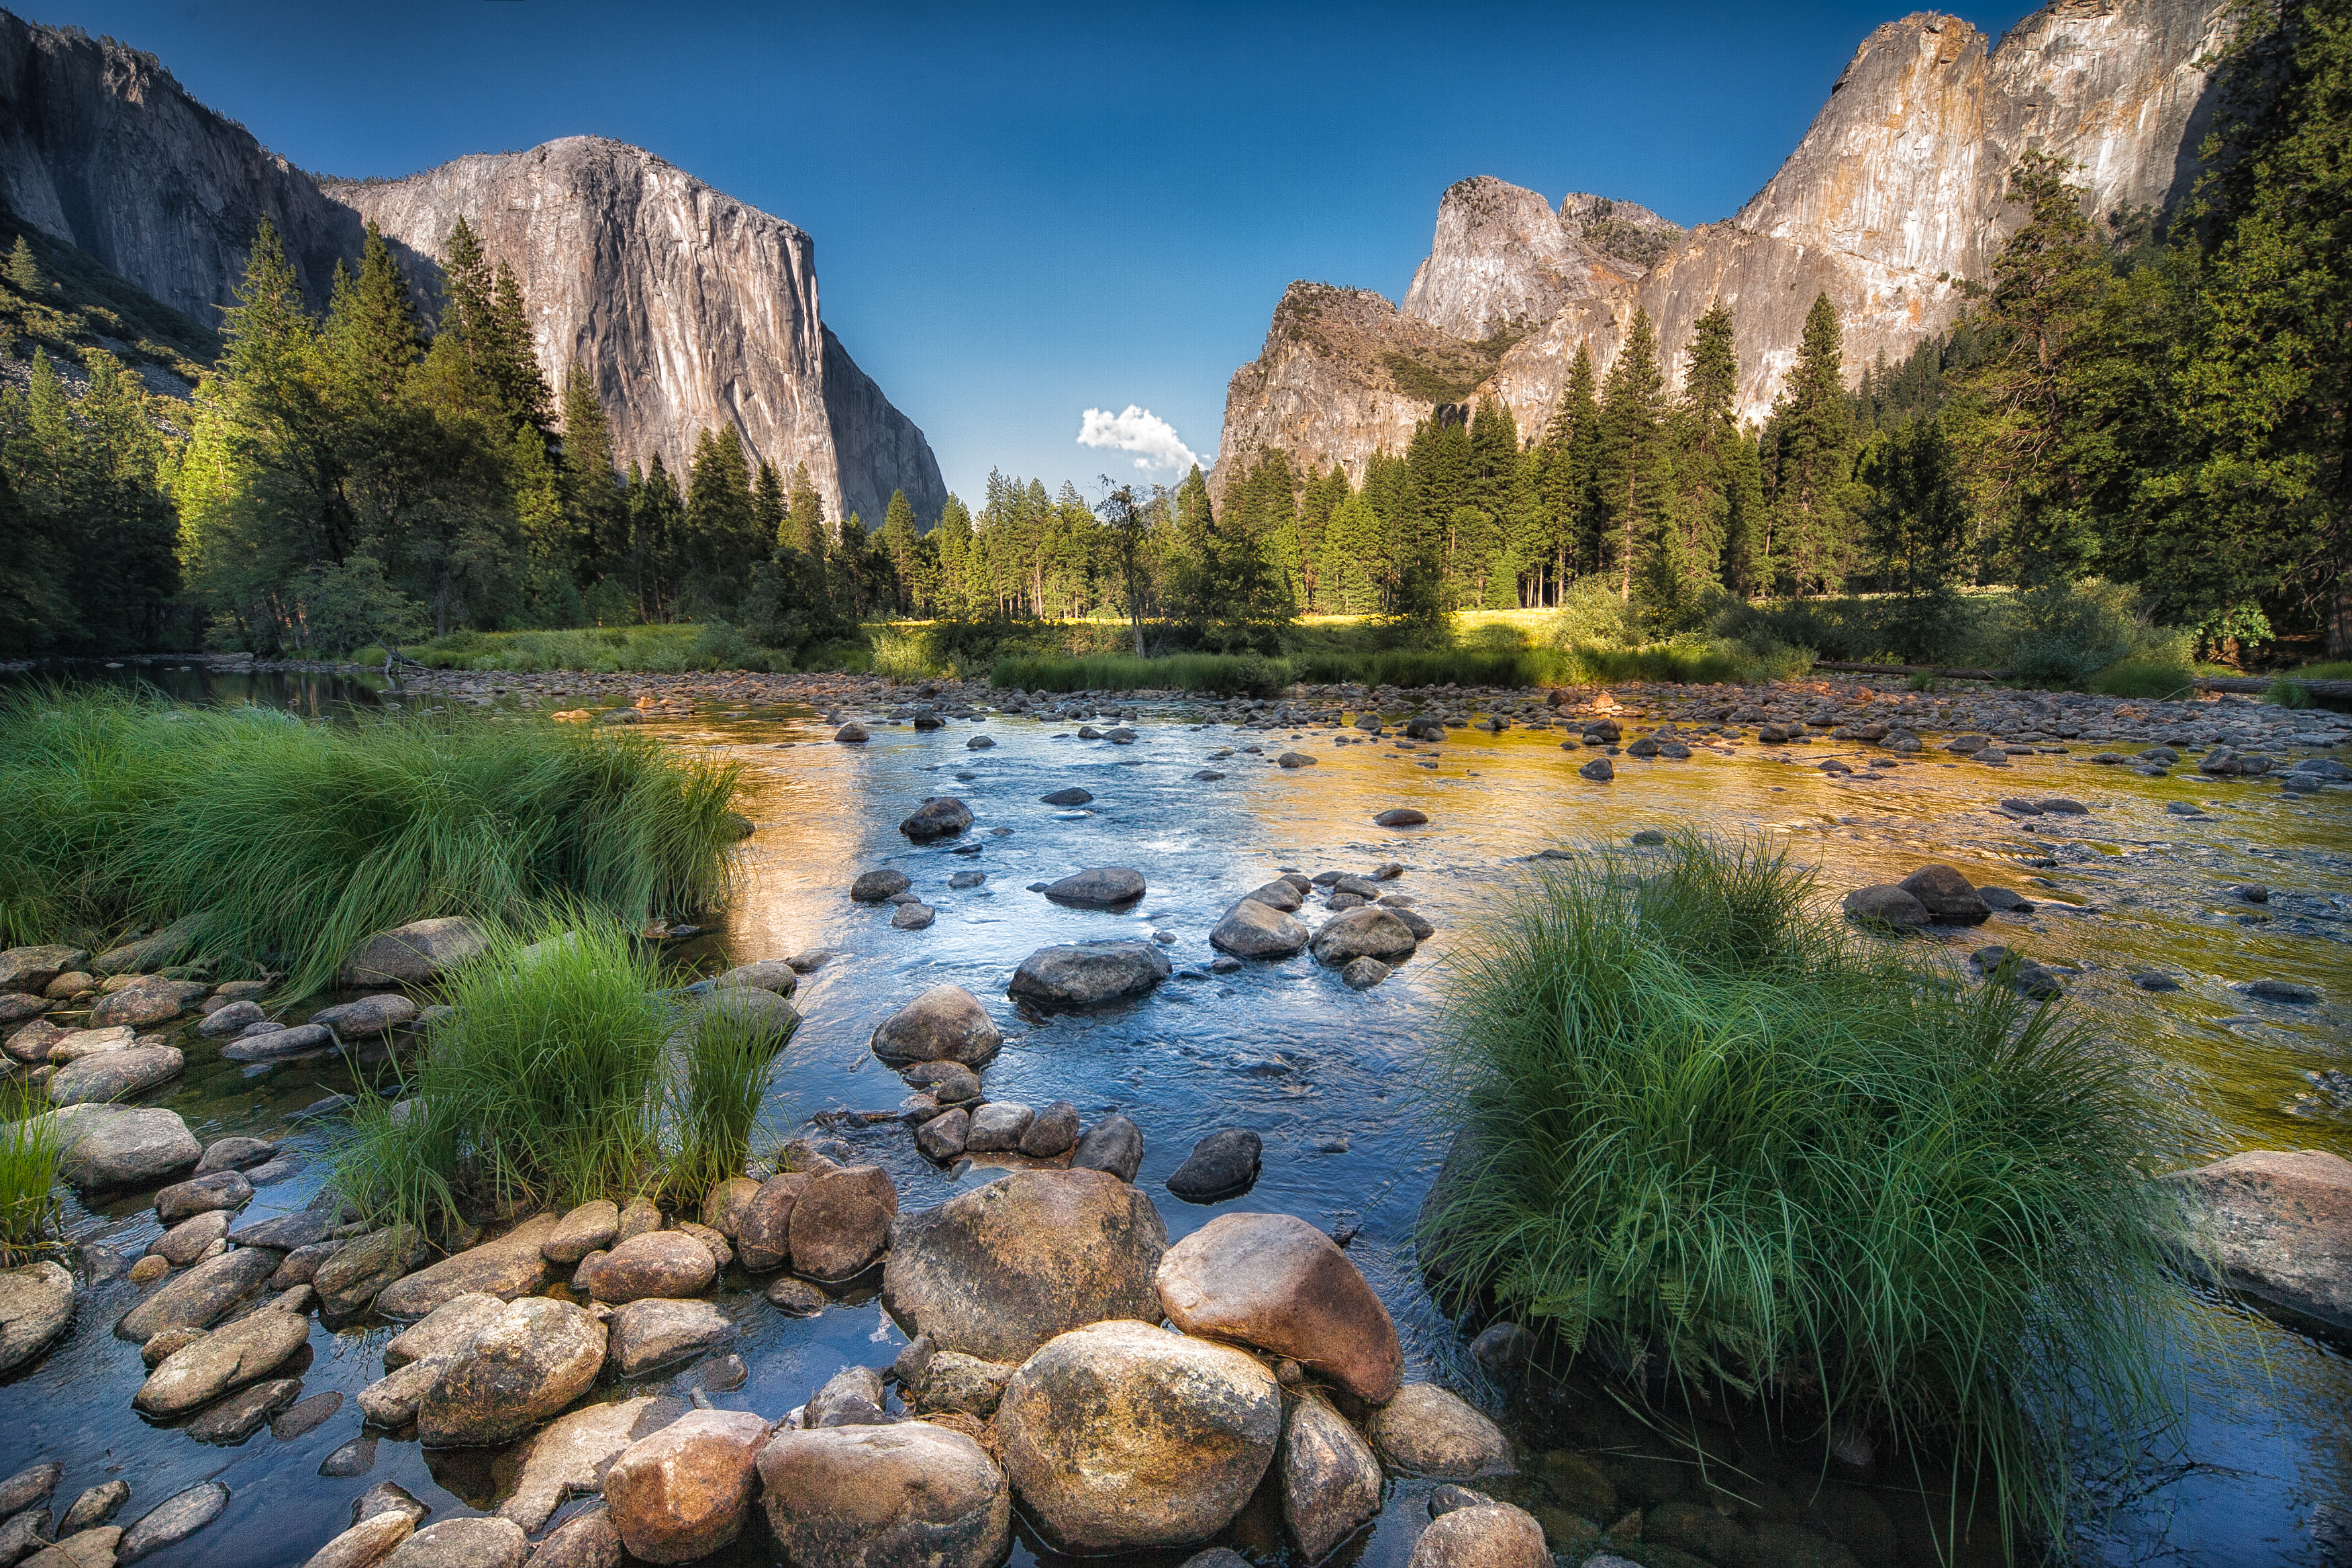
Yosemite National Park is home to rising monoliths, towering waterfalls, and endless hiking trails. It’s no wonder that tourists flock to the valley floor each summer, eager to take it all in. And because of the crowds, Yosemite has become infamous for difficult camping reservations.
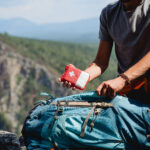
Now that you are competing with everyone else to grab the best campsite while visiting, how exactly do you make those Yosemite camping reservations? We’ve been planning RV vacations for over 20 years and have secured campsites for our clients in some of the most difficult places, including Yosemite. We’ll walk you through how to make these reservations, as well as provide some tips and insight from our experiences.
Step 1: Determine your travel dates
If you have the flexibility, visiting Yosemite during the week is a better option than a weekend.
Travel in the off-season if you can! The weather is a little more unpredictable than summer, but the shoulder seasons mean less people and more chance of getting your preferred site.
Step 2: Pick out your favorite campground and preferred sites (and a back-up, and another back-up)
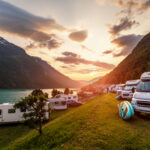
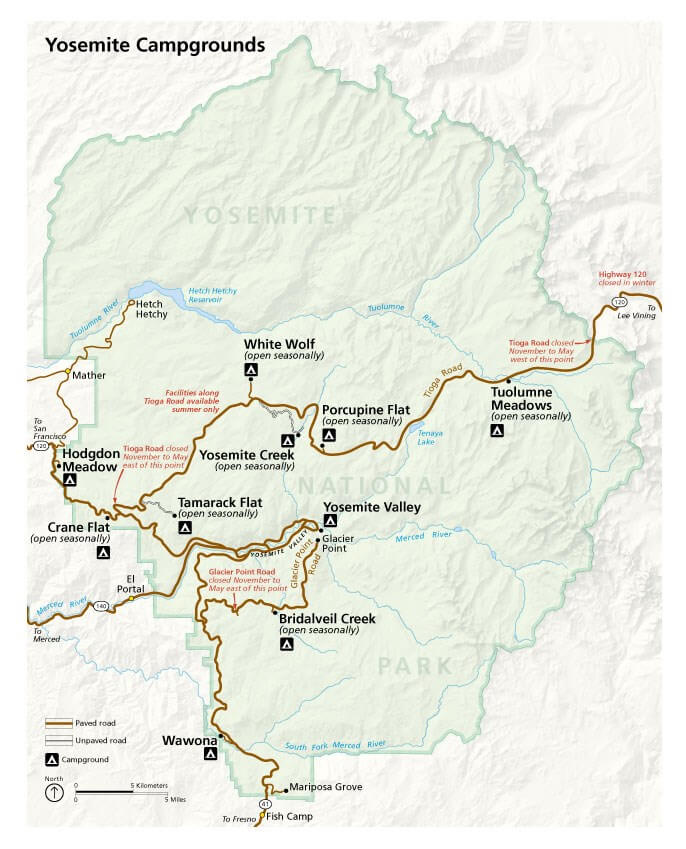
First, decide whether you want to stay in the valley or outside. Both have benefits, you just need to find the one that works best for your group.
 Campsites in the Valley:
- Upper Pines: open year-round, takes reservations, 238 sites
- Lower Pines: Open Apr 1 – Oct 27 (approx.), takes reservations, 60 sites
- North Pines: Open Apr 1 – Oct 27 (approx.), takes reservations, 81 sites
- Camp 4: Open year-round, on a daily lottery system for reservations May – Sept, 36 sites
Benefits of Camping in the Valley:
- You are closer to the action (most of the activities are located within the valley)
- You can utilize the park shuttles for travel within the valley so you don’t have to worry about driving
- You get to experience the vastness of the walls all day – and night – long
Campsites Outside of the Valley:
North of the Valley:
- Hodgdon Meadow: Open year-round, reservable Apr 8 – Oct 1 (approx.), 105 sites
- Crane Flat: Open May 20 – Oct 15 (approx..), reservable, 166 sites
- Tuolomne Meadows: Open June 14 – Sept 23 (approx.), 50% reservable, 304 sites
- Tamarack Flat: Open May 20 – Oct 15 (approx.), not reservable, 52 sites
- White Wolf: June 24 – Sept 23 (approx.), not reservable, 74 sites
- Yosemite Creek: June 17 – Sept 3 (approx.), not reservable, 75 sites
- Porcupine Flat: July 1 – Oct 15 (approx.), not reservable, 52 sites
South of the Valley:
- Wawona: Open year-round, reservable Apr 8 – Oct 1 (approx.), 93 sites (closed Oct 2019 – Apr 2020)
- Bridalveil Creek: Open July 1 – Sept 23 (approx.), not reservable, 110 sites
Benefits of Camping Outside of the Valley:
- Far less crowded and sought after so campgrounds will be easier to reserve
- Usually quieter and you may feel like you are more “in nature”
- There are plenty of hikes outside the valley, and you’ll have easy access to the less-crowded paths
Staying in the Valley is our first pick. Try for a site in Upper, Lower or North Pines if you don’t mind a little competition. But know that these spots are very difficult to get, and you will need to be flexible. Have a few back-ups at reservable sites outside of the Valley in case you aren’t able to snag these prime sites.
Step 3: Check the NPS website for your reservation window
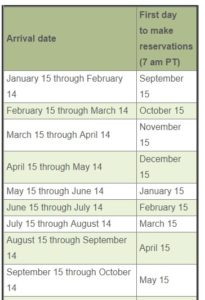
Visit https://www.nps.gov/yose/planyourvisit/camping.htm to find what day and time you need to reserve your campsite. Reservations open on the 15th of the month, up to 5 months prior to your arrival, at 7AM PT. You’ll see a chart like the one to the right:
Set your alarm! Seriously, do it now so you don’t forget! And give yourself plenty of time in case you hit the snooze button, your computer takes longer than normal to boot up (talking from experience), or you can’t function until coffee (also talking from experience).
Step 4: Create an account on Recreation.gov
Since you are on your computer, head over to Recreation.gov and create an account if you don’t have one already.
You don’t want to log on at 7am on the day your reservation window opens, only to realize you have to create an account. If you already have one, log in to make sure you know your password. Save your password somewhere safe.
Create more than one account (you’ll need a different email for each). This way you can open up multiple tabs on the day of to try for different sites at the same time… more on that later.
Step 5: Recruit others
The more people you have to help you secure your desired campsite, the better. Divvy out your campsite options to your helpers. You may want to give them a nudge to create an account (everyone needs their own) and set their alarm.
Write down detailed steps (or use ours below) to hand out to your helpers. You’ll want the reservation process to be as easy as possible so no one gets stuck still trying to find the correct campsite after the open time. Be organized and make it clear what site they are booking and for what days.
Step 6: BE PREPARED
PRIOR to 7am on the morning of:
- Sign in to your account on Recreation.gov. Navigate to Yosemite NP and select the campground you’ve chosen
- Enter your Check in and Check out dates, click on Show Sites
- Pick a campsite. You can either use the list on your left or the map on your right to choose
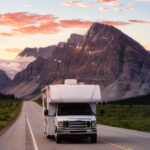
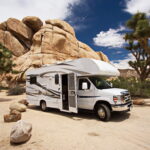
If you are camping in a trailer or RV, you will need to find the sites that allow them. Even though all of the sites within Yosemite are non electric (meaning no hook ups), there are select sites for trailers and RVs, due to their size. When looking for a site, click on “More Filters”, check RV or trailer, and it will filter only the sites that are available to you. If you are in a tent, you don’t need to worry.
The riverside campsites are the most popular choices, for good reason. If you are really set on this, go for it! But make sure you have someone else going for another site in case you don’t get it.
Step 7: Watch the clock
As soon as the clock hits 7AM PT, BOOK NOW. Click it as fast as your little fingers can handle.
Have multiple tabs or windows open for various campsite options. To do so, a different account is needed for each separate window. Once the clock strikes, hit book now on all of your windows before you go back to see if you got one or not. You can hold a campsite in your cart for 15 minutes. So if you get one, go back and try to get more before your 15 minutes run out. You can always drop a campsite out of your cart if you don’t need it because you got so many (that’s the hope, right?). Communicate with your helpers and make sure you are dropping only what is not needed.
Refresh the page for available campsites after 15 minutes (the time when people’s carts are expiring) because they may be dropping campsites out of their carts before they check out. Sometimes you can snag up a great campsite because someone else let it go.
Step 8: Check out and give yourself a pat on the back!
Remember that you can hold a campsite in your cart for 15 minutes, which means you need to check out prior to that time expiring. There are several steps to go through to check out (billing info, reservation holder info, vehicle info, etc) so don’t wait until the last minute (literally) before purchasing.
Have your credit card info either pre-populated in your browser so it pops up automatically, or have it in a Word doc on your computer so you can just copy and paste. It seems simple, but helps a lot — especially when you are racing the clock.
WOW that was a lot, huh? It can be stressful, trust us. The good news is, you don’t have to do it yourself! Spare yourself some anxiety and let Tracks & Trails book your campsite for you! We have several trips to Yosemite, including:
Yosemite, Sequoia & Kings Canyon